Resplendent Quetzal Illustration - Step by step with a ballpoint pen
I recently finished a longer project that I started as part of a Domestika course. The style of that particular course gathered my interest, because it reminded me of older illustrations in animal books or natural history books.
As tools only a ballpoint pen was used, except from sketching in pencil. That meant all the textures were done with a huge and varying amount of strokes. The course teaches you how to achieve different textures. And also, don’t be afraid to make mistakes, they will happen.
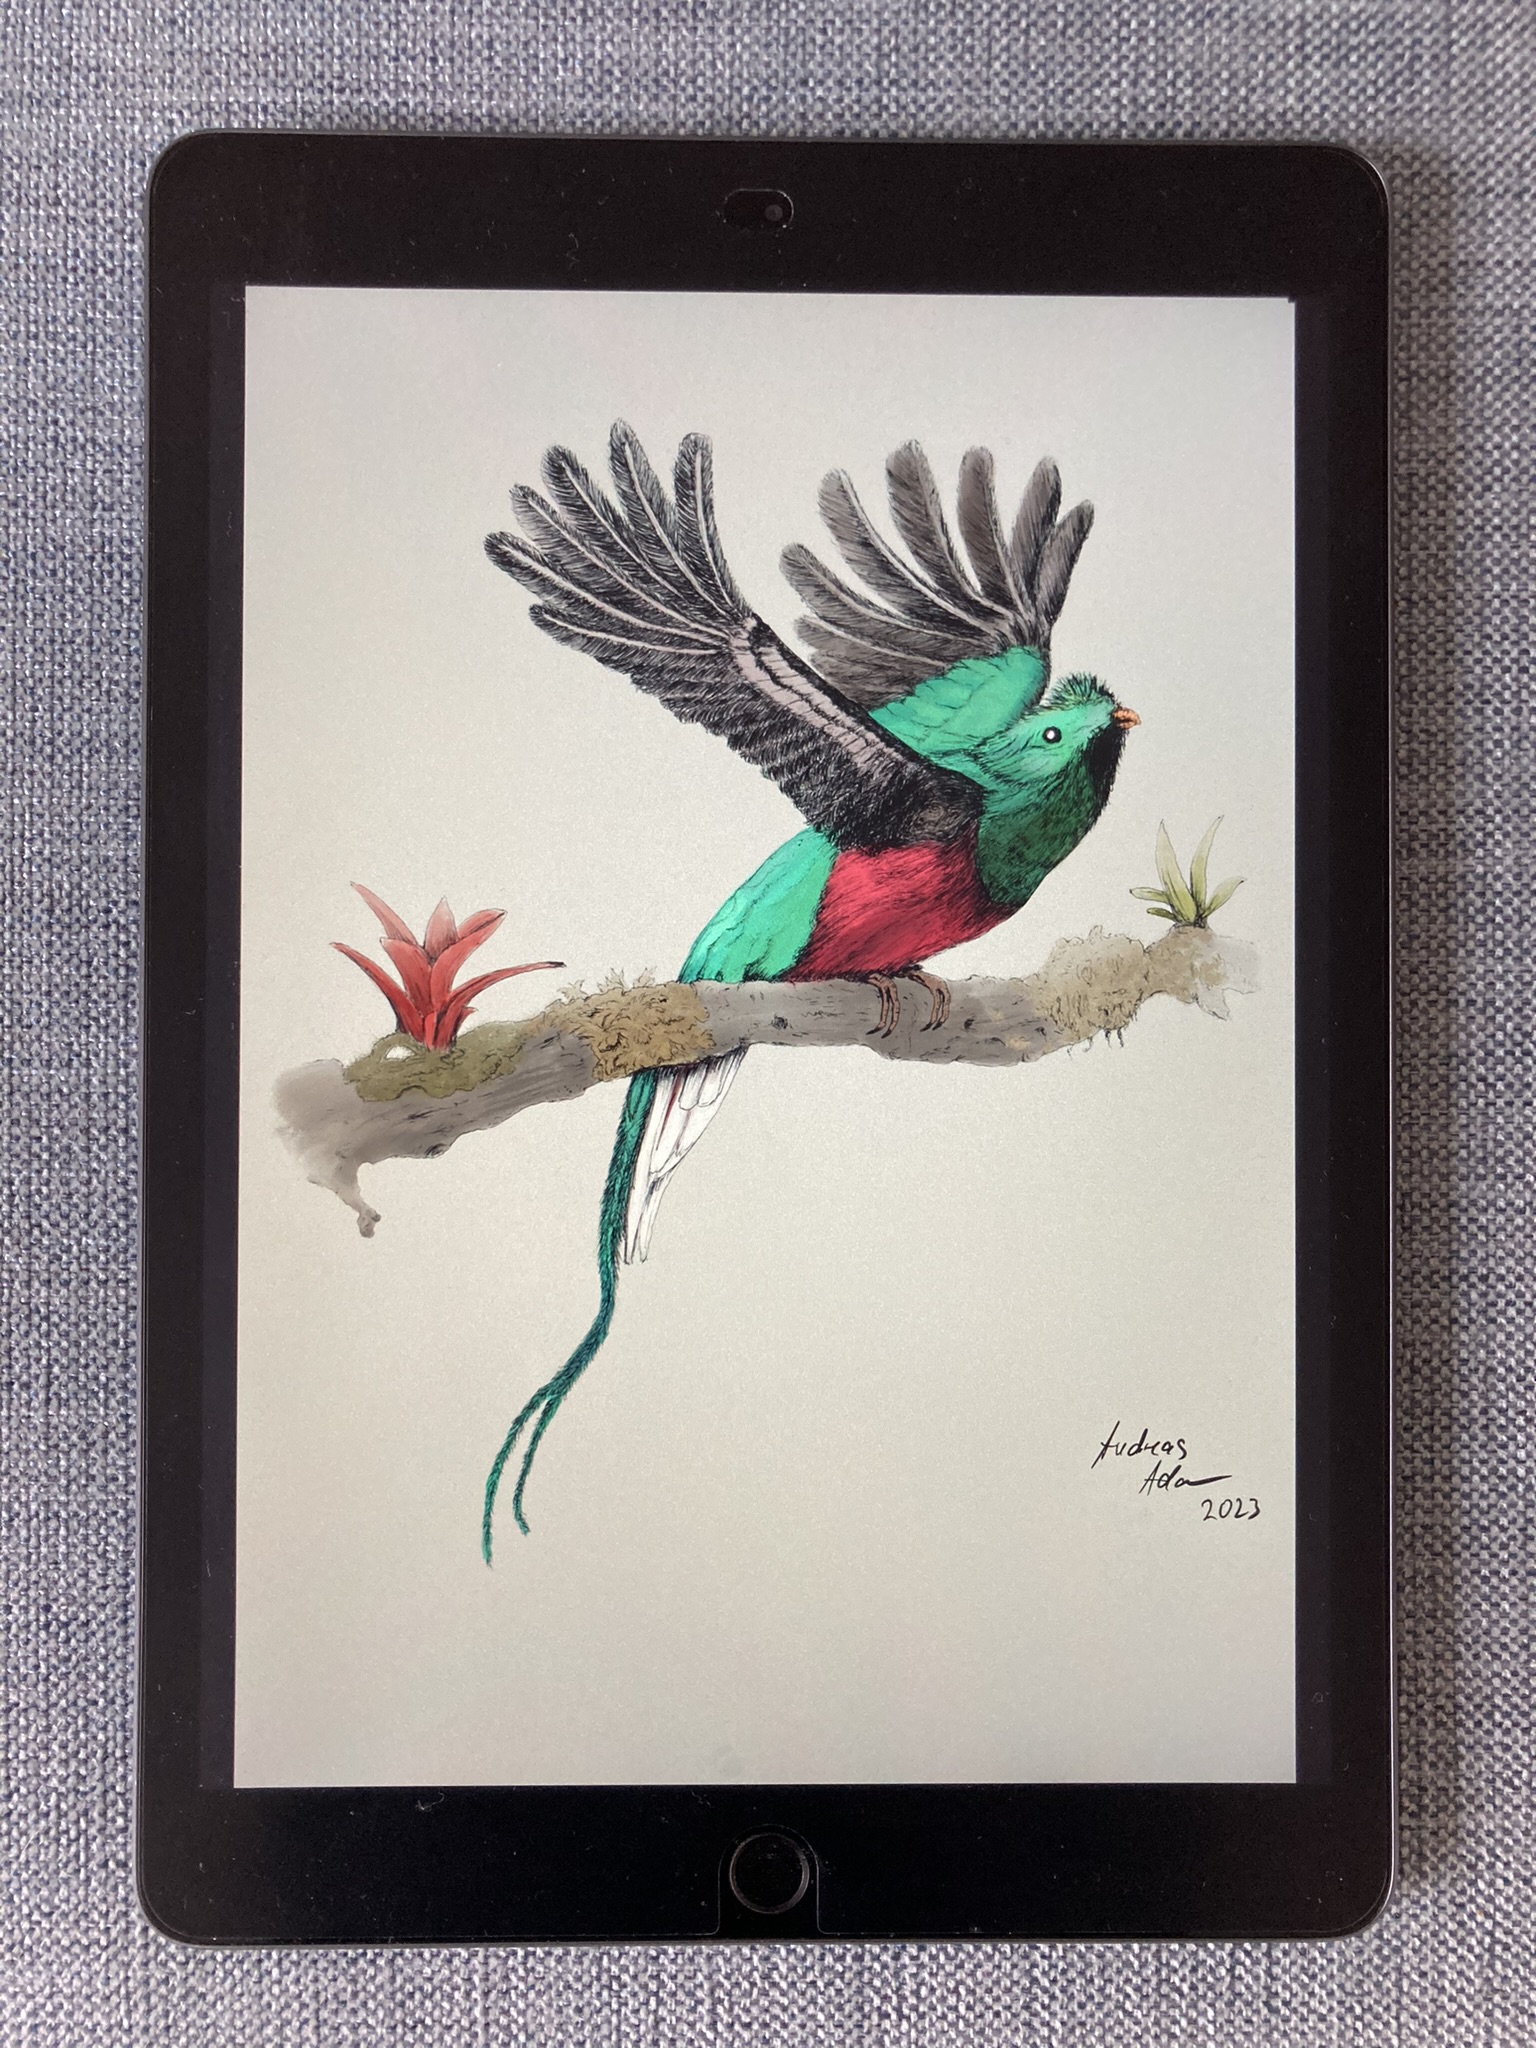
This is the resulting image:

Facts about the Resplendent Quetzal
This is the Resplendent Quetzal, one of the 6 subspecies of Quetzal. They all live in the area of Middle and South America, in higher altitudes that feature foggy rain forests.
I chose this bird because of its sheer beauty. It was featured on a foreword page in one of the best animal books I had as a child (it featured 2000 vertebrates) and kept it long into my adulthood until the binding fell apart, so it left a huge impression on me. Although I have never seen one in my life I am still in awe. How can you not be?
Here are some more interesting facts:
- They can live up to 20 - 25 years
- They are omnivorous, eating insects, lizards, grubs, and mostly fruits
- The male has a yellow beak, the female has a black beak
- The male only grows the distinct long tail feathers during mating season
- The male also has the brighter, more distinct colours, whereas the female is more brownish
- Most birds have 3 toes pointing forward and one pointing backwards. The quetzal has two toes pointing backwards which gives it a weak grip
- The Mayas and Aztecs worshipped this bird and used its feathers as traditional jewellery, but the bird itself was not killed.
- Compared to today, the bird is threatened by deforestation and habitat loss. It is even threatened by international pet trade. Fortunately, the IUCN status is still at near threatened, though population numbers are going down
- Ironically the plumage is very delicate, so the feathers start falling out very easily, especially under wrong keeping conditions. This also creates challenges for preserving stuffed birds in museums as the colours easily fade away
- In some countries, the bird is a vital symbol in the human culture, e.g. it is part of the national flag of Guatemala. Even their currency is called quetzal.
Step by step process of the animal drawing
1. Gathering references
2. Thumbnailing the scene

3. Outline sketch
First option, you create a rough sketch of your subject in the desired size of your drawing canvas. In this case you need to make sure you get all the proportions right. What helps is looking at your image in a mirror or from upside down. This way your brain will see the image in a new way and will spot errors that your brain became accustomed to before.

4. Transfer to paper
5. Inking

6. Colouring
The final part was colouring the piece in Procreate.
I tried to keep the colours desaturated to achieve a look similar to old natural history books, but ended up cranking up the colours a bit more to amplify the bird’s experience more. After all, the quetzal is one of the most colourful and impressive birds and I wanted to do it justice.
I also chose a background colour that is not white, but more like paper from an old book to achieve more of that old nature book look.

That was the end result! I am pretty happy with it considered this was my first try. It definitely looks like something I would hang on my wall. Maybe I’ll do that.
Let me know in the comments whether this was helpful and interesting. If you want to do the same course, click here for the link. I am not affiliated with the link, I just share it for your convenience.
Do you want to see more animal drawings?
Stay happy and look out for birds,
Your Andi Pasti
P.S.: some time has passed since last time I updated this blog since I wasn’t sure about what I should write about. I guess I might be leaning more towards animal related content and its cross sections with art.
References:
- https://animaldiversity.org/accounts/Pharomachrus_mocinno/
- https://animalia.bio/resplendent-quetzal
- https://en.wikipedia.org/wiki/Resplendent_quetzal
- https://www.iucnredlist.org/species/22682727/92958465


Comments
Post a Comment